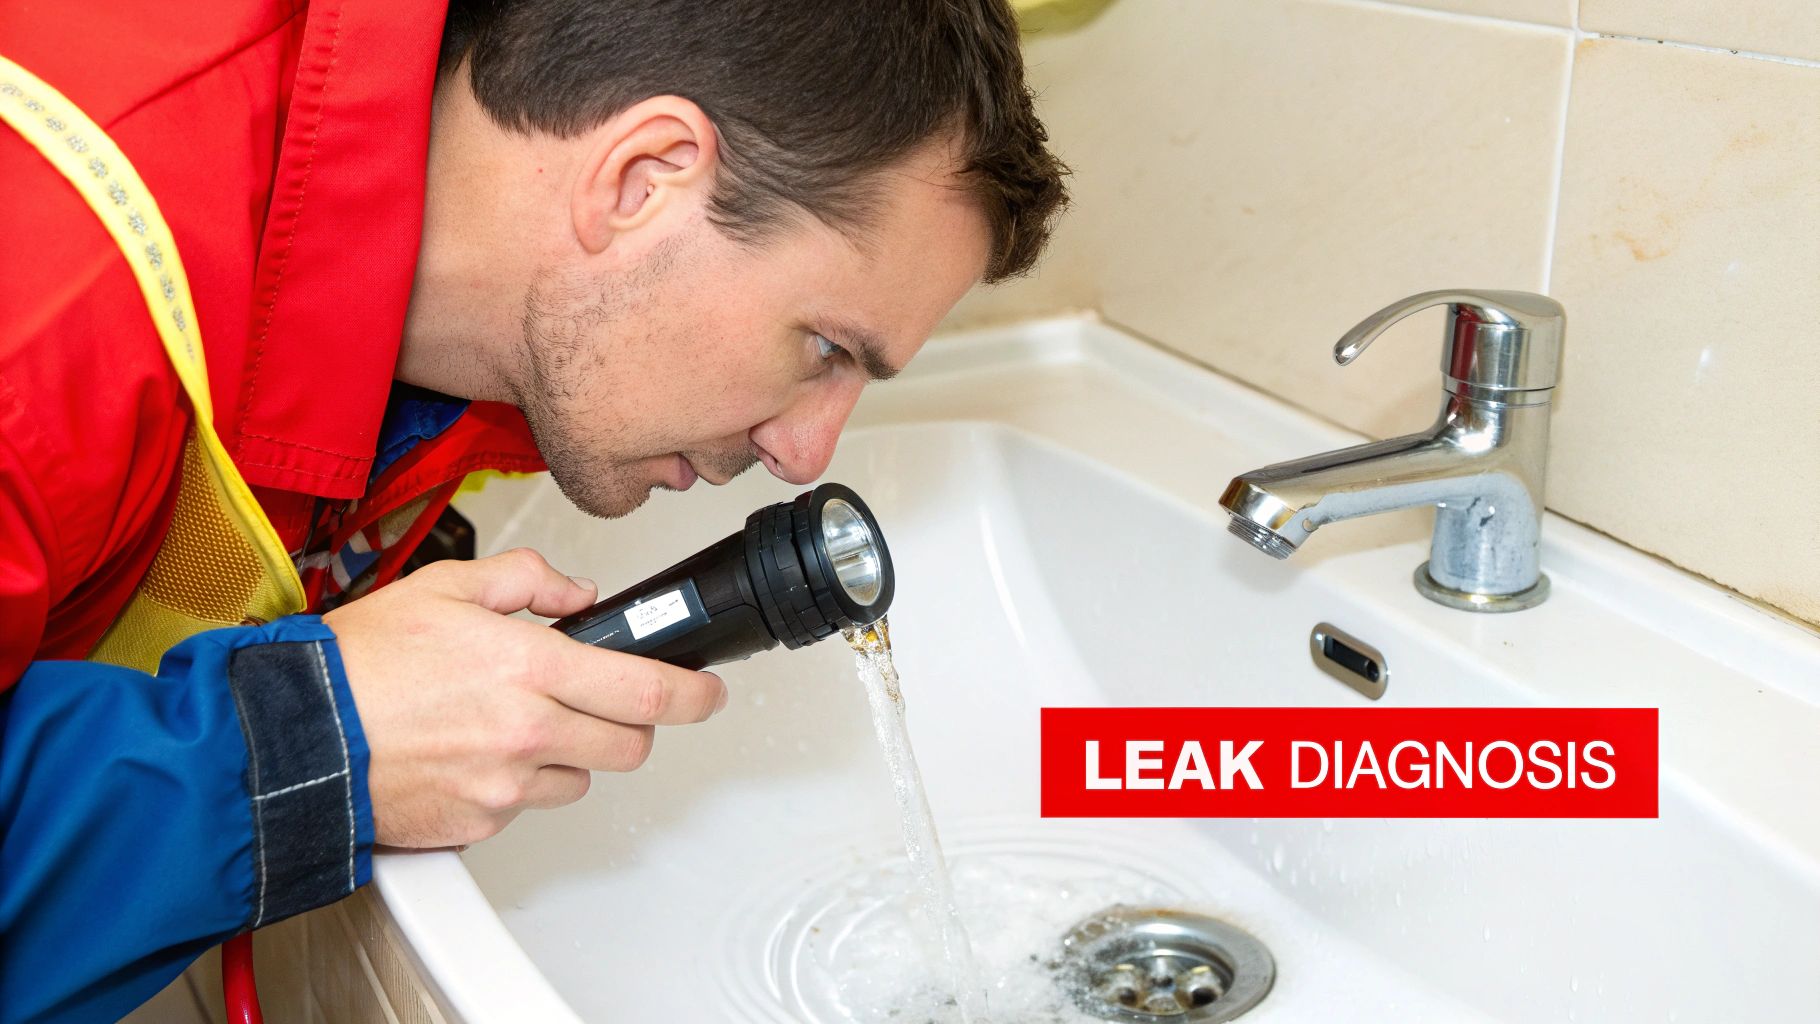
That relentless drip, drip, drip you hear is more than just an annoyance. For homeowners in Oxnard and across Ventura County, it’s a warning sign of a potential plumbing issue. Ignoring a leaking bathtub drain can lead to water damage, mold growth, and a much bigger repair bill down the line. But before you can fix the problem, you need to play detective and find out exactly where the water is coming from.
The good news is that you can often identify the source yourself with a couple of simple tests. No fancy tools required—just your eyes and a little patience. At Armor Hydro Jetting, we believe in empowering our neighbors with the knowledge to handle small repairs and recognize when professional help is needed for services like pipe repair or drain cleaning.
How To Find the Source of Your Bathtub Leak
The first thing to figure out is when the leak happens. Does it drip only when the tub is draining, or does it leak while it's just sitting there full of water? This single detail will tell you almost everything you need to know about the cause of the problem.
Reading the Clues
Where you see the water damage is your biggest hint. Different leaks leave different fingerprints, helping you pinpoint the issue.
-
Water Stains on the Ceiling Below? This is the classic sign of a problem with the drain's waste and overflow assembly. Specifically, the large rubber gasket that sits between the drainpipe and the underside of your tub has likely failed. When it gets old, dries out, or cracks, water escapes every time the tub drains.
-
Puddles on the Tub Floor Around the Drain? If you see a small ring of water forming inside the tub right around the metal drain flange, even after the water has been sitting for a while, the problem is not underneath the tub. It is the plumber's putty or sealant directly under the rim of that flange that needs replacement.
-
Dripping When the Tub is Full (But Not Draining)? This points straight to the overflow drain. The gasket behind that plate on the vertical wall of your tub is supposed to create a seal, and if it's compromised, any water that reaches that level will find a way out.
More homeowners are learning to spot these issues early. It’s no surprise that the market for plumbing and drain services is expected to surge, hitting over $10.3 billion by 2035. People are realizing that tackling small leaks proactively is just smart homeownership. If you're interested, you can discover more insights about plumbing market trends and what’s driving this growth.
Pro Tip: Before you run any tests, grab a towel and make sure the area around the tub and inside the access panel is bone dry. This way, you'll know for sure that any new water you see is from the leak, not an old splash. It saves a ton of second-guessing.
Quick Guide to Diagnosing Your Bathtub Leak
Sometimes you just need a quick reference. This chart connects the dots between what you're seeing and where the problem most likely is.
| Symptom | Likely Source | Your First Move |
|---|---|---|
| Water dripping from the ceiling below your bathroom | The main drain gasket under the tub is failing. | Access the plumbing below the tub to inspect the gasket. |
| A small puddle forms around the drain inside the tub | The plumber's putty under the drain flange is bad. | Remove the drain flange and re-seal it with fresh putty. |
| Water appears only when the tub is filled past the overflow | The overflow plate gasket has worn out. | Unscrew the overflow plate and replace the gasket behind it. |
Think of this table as your troubleshooting cheat sheet. It’s the fastest way to narrow down the possibilities and get you started on the right path to a permanent fix.
Gathering Your Tools and Materials for the Repair
Before you can think about fixing that leaking bathtub drain, you have to get your gear lined up. A simple repair project can get derailed because of a frantic, mid-job scramble for a missing tool. For our neighbors here in Oxnard, a trip to the hardware store is easy enough, but let's make sure you only have to go once.
First, let's talk tools. The one non-negotiable item you'll need is a tub drain wrench, often called a "dumb-bell" wrench. This tool is specifically designed to grip the crossbars inside the drain flange, allowing you to get the leverage you need without scratching your tub's finish. You’ll also want a solid pair of channel-lock pliers to get a good grip on the drain assembly from below the tub. A sharp utility knife is also essential for cutting away old sealant.
Choosing Your Sealant Wisely
Here is where many well-intentioned DIY repairs go sideways. Deciding between plumber's putty and silicone isn't just a personal preference; they have very different jobs.
-
Plumber's Putty: This is your go-to for the most important seal: the one directly under the drain flange. It’s a soft, pliable compound that creates a perfect watertight gasket when you tighten the drain down. Critically, it does not harden, which means if you ever have to do this job again years down the road, you will be able to get the drain out.
-
Silicone Caulk: Think of silicone as the finishing touch. Once your drain is fully installed and leak-free, you can run a clean, thin bead of it around the visible edge of the flange where it meets the tub. This gives you a nice, clean look and adds a mildew-resistant barrier, but it should never be used as the primary sealant under the flange.
When we get emergency plumbing calls across Ventura County, it’s amazing how often we find leaks caused by the wrong sealant. Using silicone under the flange creates a bond so strong that trying to remove the drain later can actually crack the tub, turning a small plumbing fix into a huge bathroom remodel.
This infographic breaks it down nicely, covering the key tools, the putty-vs-silicone debate, and making sure you get the right drain kit from the start.
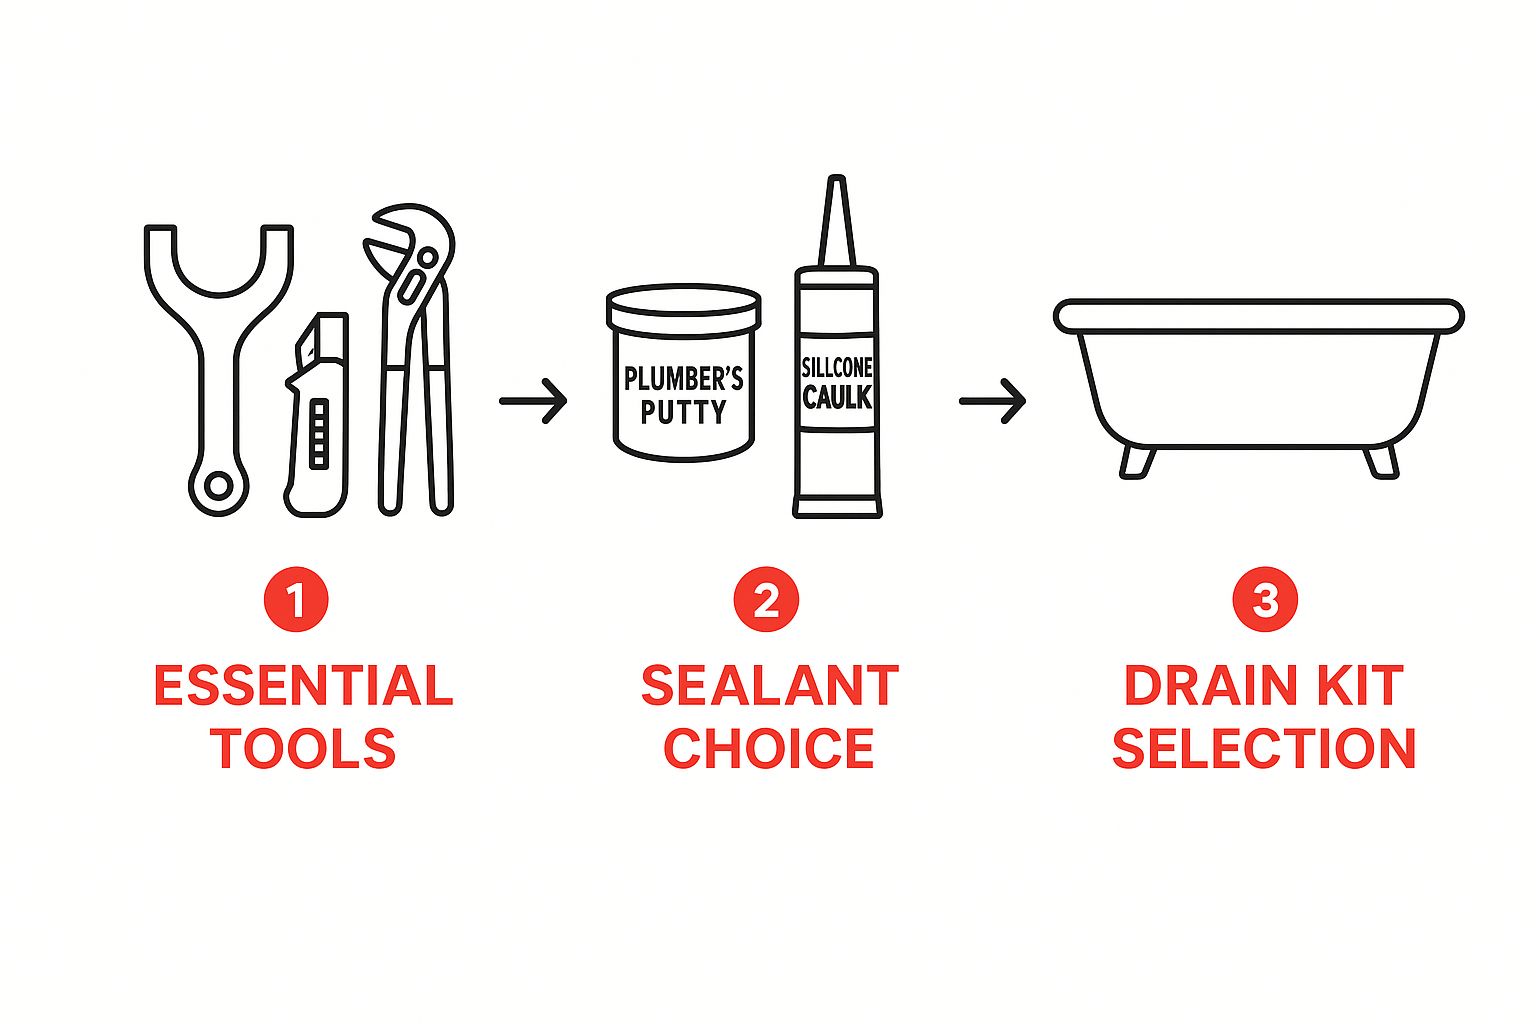
As you can see, getting these three pieces—the right tools, the right sealant, and the right parts—correct from the beginning is the key to a repair that will actually last.
Finding the Right Replacement Drain Kit
Finally, you’ll need the new drain assembly itself. While most tubs these days use a standard 1.5-inch drain, you should never assume. The best way to guarantee you get a perfect match is to bring the old drain parts with you to the store.
Also, pay close attention to the style of stopper you have. Is it a lift-and-turn, a push-pull, or a more complex pop-up? Getting a kit that matches your current setup will save you a world of frustration and ensure every component fits together just as it should.
Time to Get Hands-On: Replacing Your Drain Assembly
You've got your tools laid out and the new parts are ready to go. Now for the fun part: actually swapping out that old, leaky drain. We're going to walk through this step-by-step. Don't worry, if you take your time and do it right, you'll end up with a perfect, watertight seal that will last for years.
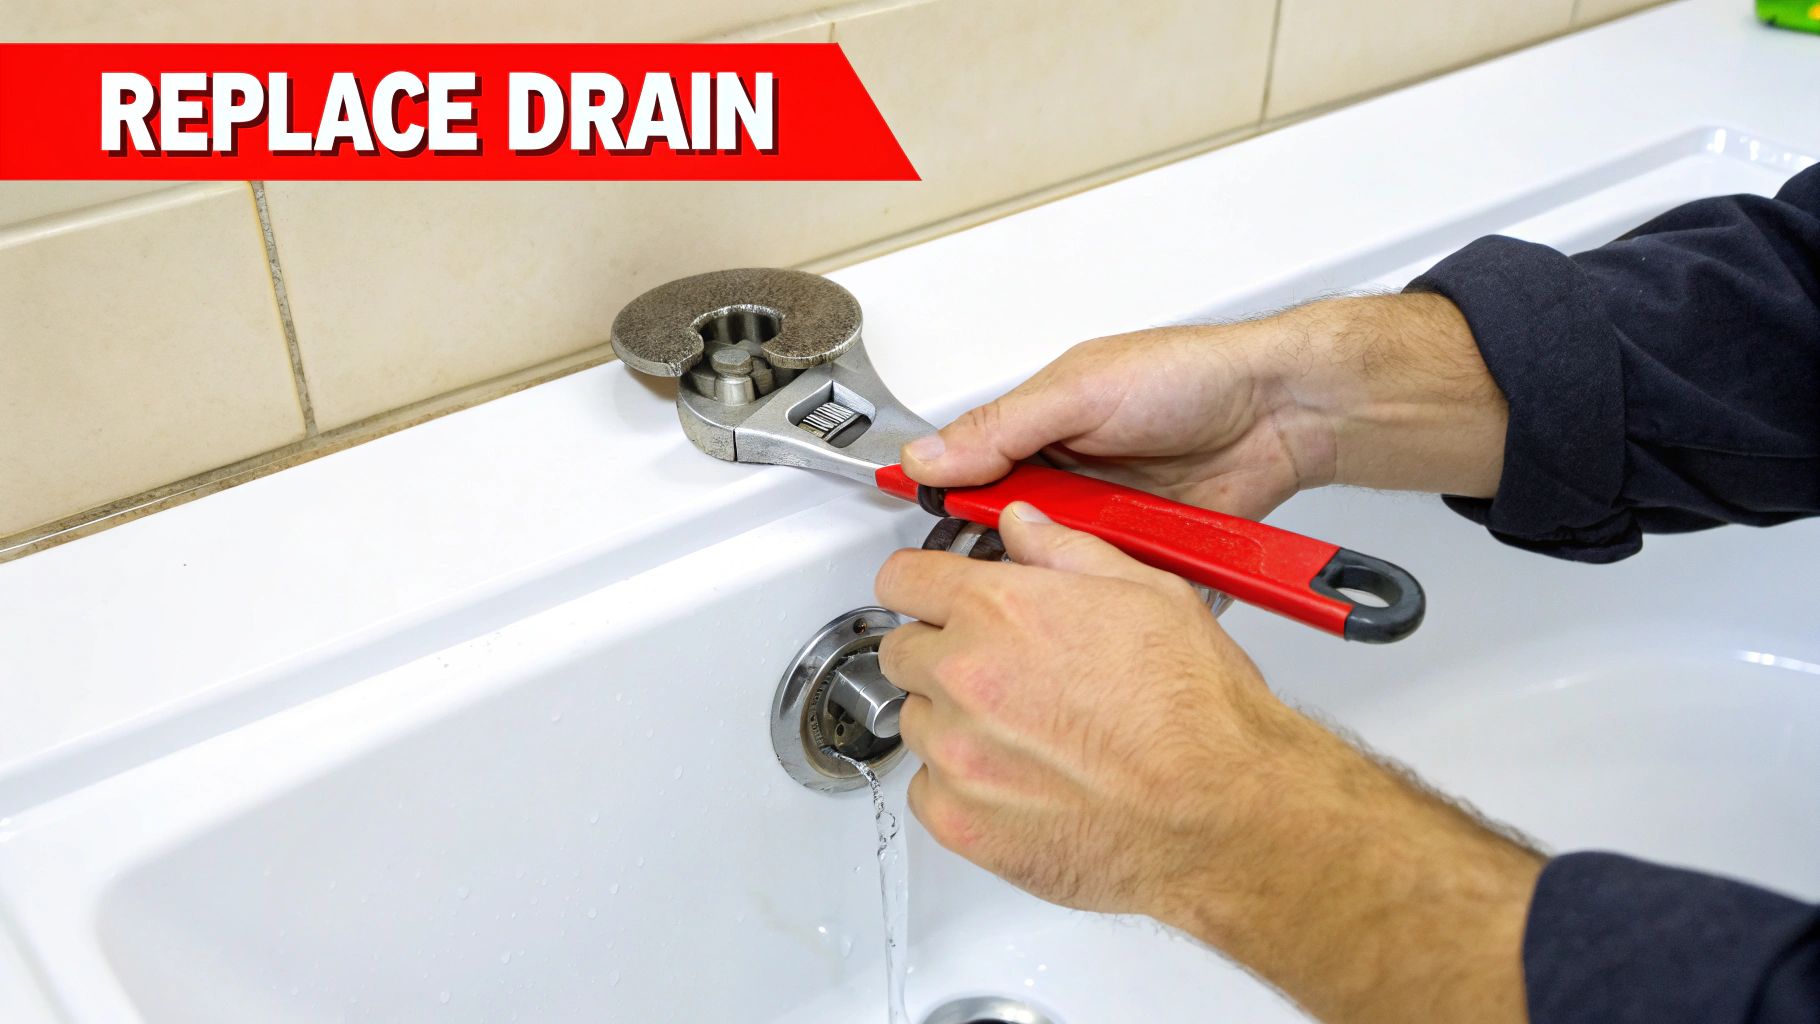
Wrestling with the Old Drain Flange
First, we need to get that old drain flange out. This is the metal trim piece you see on the inside of the tub. Grab your tub drain wrench and fit it down into the drain opening. You'll feel it lock into the crossbars inside. Now, get some leverage by attaching your pliers or a crescent wrench to the top of the drain wrench and start turning counter-clockwise.
Sometimes, these things just don't want to budge, especially in older Oxnard homes where corrosion and old putty have basically fused them in place. If it feels stuck, do not crank on it harder; you could crack the tub, and that's a much bigger problem.
A Pro Tip for a Stubborn Drain: If it's putting up a fight, a little bit of heat can work wonders. Grab a hairdryer and warm up the metal flange for a minute or two. The heat helps soften that rock-hard old plumber's putty and makes the metal expand just enough to break the seal. It’s a simple trick that has saved our technicians a lot of frustration over the years.
Once you feel it break free, you can unscrew it the rest of the way by hand and lift it out.
The Most Important Step: A Perfectly Clean Surface
Now for the dirty work. You'll see a ring of old, crusty putty around the drain opening. You have to get rid of all of it. Use a utility knife or a putty knife to carefully scrape it all away. I cannot stress this enough: a clean surface is non-negotiable if you want a leak-proof seal.
Next, you'll need to get underneath the tub to deal with the rest of the assembly. You'll see a big rubber gasket squished up against the bottom of the tub. Pry that old thing out with a flathead screwdriver and toss it. Never reuse an old gasket. Give the underside of the tub and the threads on the drain shoe a good cleaning, too.
It’s no surprise that so many people are tackling this project. The global market for new bathtub drains hit around $2.5 billion in 2025 and is projected to climb to almost $3.98 billion by 2033. This shows how many homeowners are upgrading for better function and a fresh look. You can actually see more about the trends in bathtub drain fixtures and what's popular right now.
Installing the New Drain Assembly
With everything sparkling clean, you're ready to put it all back together. For a professional-grade seal that won't give you trouble, just follow these steps:
- Prep the Putty: Grab a good-sized ball of fresh plumber's putty and roll it in your hands until you have a rope about a quarter-inch thick.
- Apply the Putty: Press this putty rope firmly onto the entire underside of the new drain flange. This is what creates that critical seal against the inside of your tub.
- Set the Gasket: From underneath the tub, slide the new rubber gasket over the drain shoe until it's snug against the bottom of the tub.
- Thread the New Flange: Back inside the tub, carefully start threading the new, putty-lined flange into the drain shoe, turning it clockwise. I always start by hand to ensure I do not cross-thread it.
- Tighten It Down: Once it's hand-tight, use your tub drain wrench to give it a final turn until it's snug. You should see a little bit of putty squeezing out from under the flange; that’s a great sign! It means you've made a solid, complete seal. Just wipe away the excess with a soft cloth.
While replacing a drain is a fantastic DIY skill, sometimes a simple project uncovers bigger headaches, or you just want the peace of mind that comes with a professional touch. For any fixture installation projects in Ventura County, our team at Armor Hydro Jetting is always here to make sure the job gets done right.
Knowing When to Call a Plumbing Professional
Even the most confident DIYer can hit a wall. You've followed every step to the letter, but something’s still off. This is where real skill comes in: knowing when to put the wrench down. It’s the crucial decision that separates a simple, successful fix from an expensive disaster.
I’ve seen it happen plenty of times in the Oxnard area. A homeowner gets their drain wrench in place, gives it a turn, and nothing. It just spins. They look closer and realize the metal crossbars inside the drain have completely rusted away, leaving nothing for the tool to grab. That drain flange is now officially stuck.
Or how about the leak that plays peek-a-boo? You’ve meticulously replaced the gasket, applied a perfect bead of plumber's putty, and reassembled everything. But the moment you run the water, that familiar drip, drip, drip starts up again from underneath. That’s a tell-tale sign the problem runs deeper than the drain assembly.
Red Flags That Mean It's Expert Time
At Armor Hydro Jetting, we're all for empowering homeowners. But we’re also big believers in making the smart call. If you hit any of these roadblocks, it’s time to tag in a professional.
- Pipes Look Brittle or Rusted Through: Take a good look at the pipes under the tub. If you see flaky metal, serious rust, or bits that are crumbling, do not put a wrench on them. You could easily snap a pipe and turn your small leak into a full-blown flood requiring emergency plumbing services.
- The Drain Is Completely Seized: You've given it your all, maybe even tried a little heat, but that drain flange won't budge. Trying to force it is a huge gamble. You risk cracking the entire bathtub, a repair that can run into the thousands. We have specialized extraction tools designed for this job, so we can get it out without damaging your tub.
- You See Signs of Bigger Water Damage: As soon as you open the access panel, what do you see? Stained subfloor? Drywall that feels soft and spongy? A musty, mildew smell? Those are classic signs of a long-term leak. The damage you can see is often just the tip of the iceberg.
Honestly, trying to strong-arm a seized part or fix a badly corroded pipe is how most small DIY jobs spiral into emergency calls. Recognizing the warning signs and letting a pro take on the risk is the smartest thing you can do for your home and your wallet.
Making the Right Call for Your Home
If you're staring down a broken drain or realize the leak is actually coming from the pipes themselves, calling a professional isn't admitting defeat; it's protecting your investment. These are not simple part-swap situations anymore. Our team can handle everything from tricky extractions to full pipe repair services that solve the problem at its source.
Bringing in an expert from Armor Hydro Jetting means you get an accurate diagnosis and a fix that lasts. It saves you the immense frustration and the potentially massive cost of accidentally turning a small problem into a plumbing catastrophe.
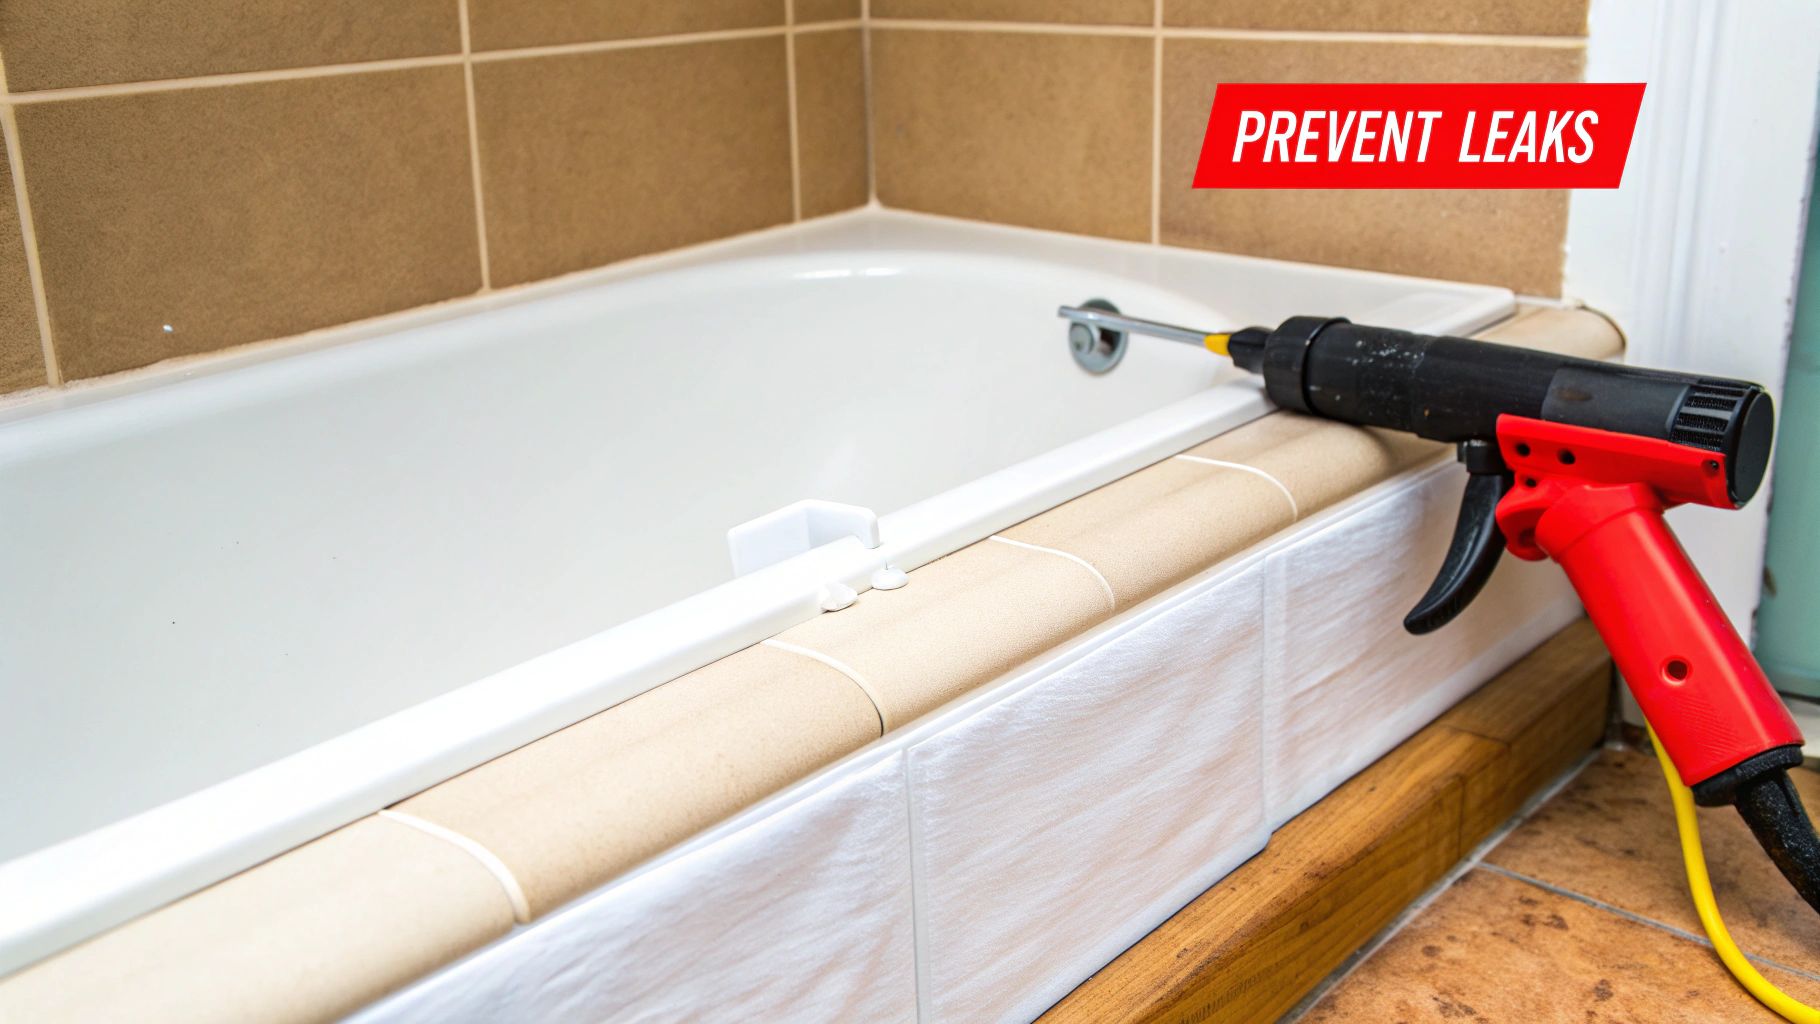
Keeping Your Bathtub Drain Leak-Free for Good
You've put in the work and fixed that pesky bathtub drain leak. Now, the last thing you want is to do it all over again in a few months. Protecting your repair is all about shifting from a reactive mindset to a proactive one. A little regular attention can save you a ton of future frustration.
First, step away from the harsh chemical drain cleaners. I know they seem like a quick fix for a slow drain, but those aggressive chemicals are notorious for eating away at rubber gaskets and plumber's putty. They can dissolve the very seals you just installed, creating a new leak.
Build a Simple Maintenance Habit
You don’t have to be a master plumber to stay ahead of problems. Just a quick check-in every few months can help you spot the early warning signs before they turn into a full-blown water disaster.
- Inspect the Sealant: Take a close look at the caulk around the drain flange in the tub. If you see it cracking, pulling away, or getting moldy, it’s lost its seal. Scrape the old stuff out and lay down a fresh bead.
- Spot the Rust: Any rust forming around the drain or the overflow plate is a red flag. It’s a clear sign that moisture is sitting where it shouldn't be, and catching it early is key to stopping corrosion.
- Work the Stopper: Every now and then, just open and close the drain stopper. Does it feel sticky or rough? If so, it’s probably time to pull it out and clear away the inevitable gunk of hair and soap scum.
This kind of care is becoming more common. The global bathtub market hit $9.89 billion in 2023 and is projected to climb, mainly because people are tired of flimsy fixtures and want reliable, well-built bathrooms. By taking care of your drain, you're essentially protecting your investment. If you're curious, you can read the full research on bathtub market growth and see how homeowner priorities are changing.
Know When to Call in the Pros
While your visual checks are crucial, what's happening out of sight in the pipes is just as important. Hair, soap, and other gunk inevitably build up over time. This not only slows down your drain but puts a constant strain on the entire system, including the seals you just fixed.
A slow drain is more than just an annoyance. It means water is sitting stagnant against your new seals, and that constant pressure dramatically speeds up their wear and tear. Clean pipes are your best defense against future leaks.
For anyone living in Ventura County, a periodic professional drain cleaning service is one of the smartest investments you can make for your home's plumbing. Here at Armor Hydro Jetting, we don't just snake the drain; we use powerful hydro jetting to completely scour the inside of your pipes. This removes years of buildup, letting water flow freely and taking the pressure off every component. It’s the best way to make sure you won't be dealing with another leak anytime soon.
When a DIY job becomes a bigger headache than you signed up for, or if you want the assurance of a professional repair, don't hesitate to get some help. For reliable and expert plumbing solutions in Oxnard and throughout Ventura County, from tricky leaks and water heater repair to emergency services, you can trust the team at Armor Hydro Jetting. Find out how we can help keep your home's plumbing running perfectly by visiting https://armorhydroplumbing.com/.
